
Communicating your brand through illustration is a fantastic way to add some personality and information without relying on boring stock photography or stuffy infographics. However, creating custom illustrations and defining an illustration system is a time consuming process. There are a bunch of tools and libraries out there for pre-made illustrations, but the “catch-all” nature of the libraries makes me feel that they can often have the opposite effect. Instead of adding to the feeling that there are real, breathing human beings behind the product you are creating, using a generic library often feels someone is trying to robotically apply a formula.
So how did we go about the illustration design process?
Step 1: Find Inspiration
There are plenty of illustrations styles out there, just look at the world of difference between the illustrations that Notion uses versus the style that GitHub is employing
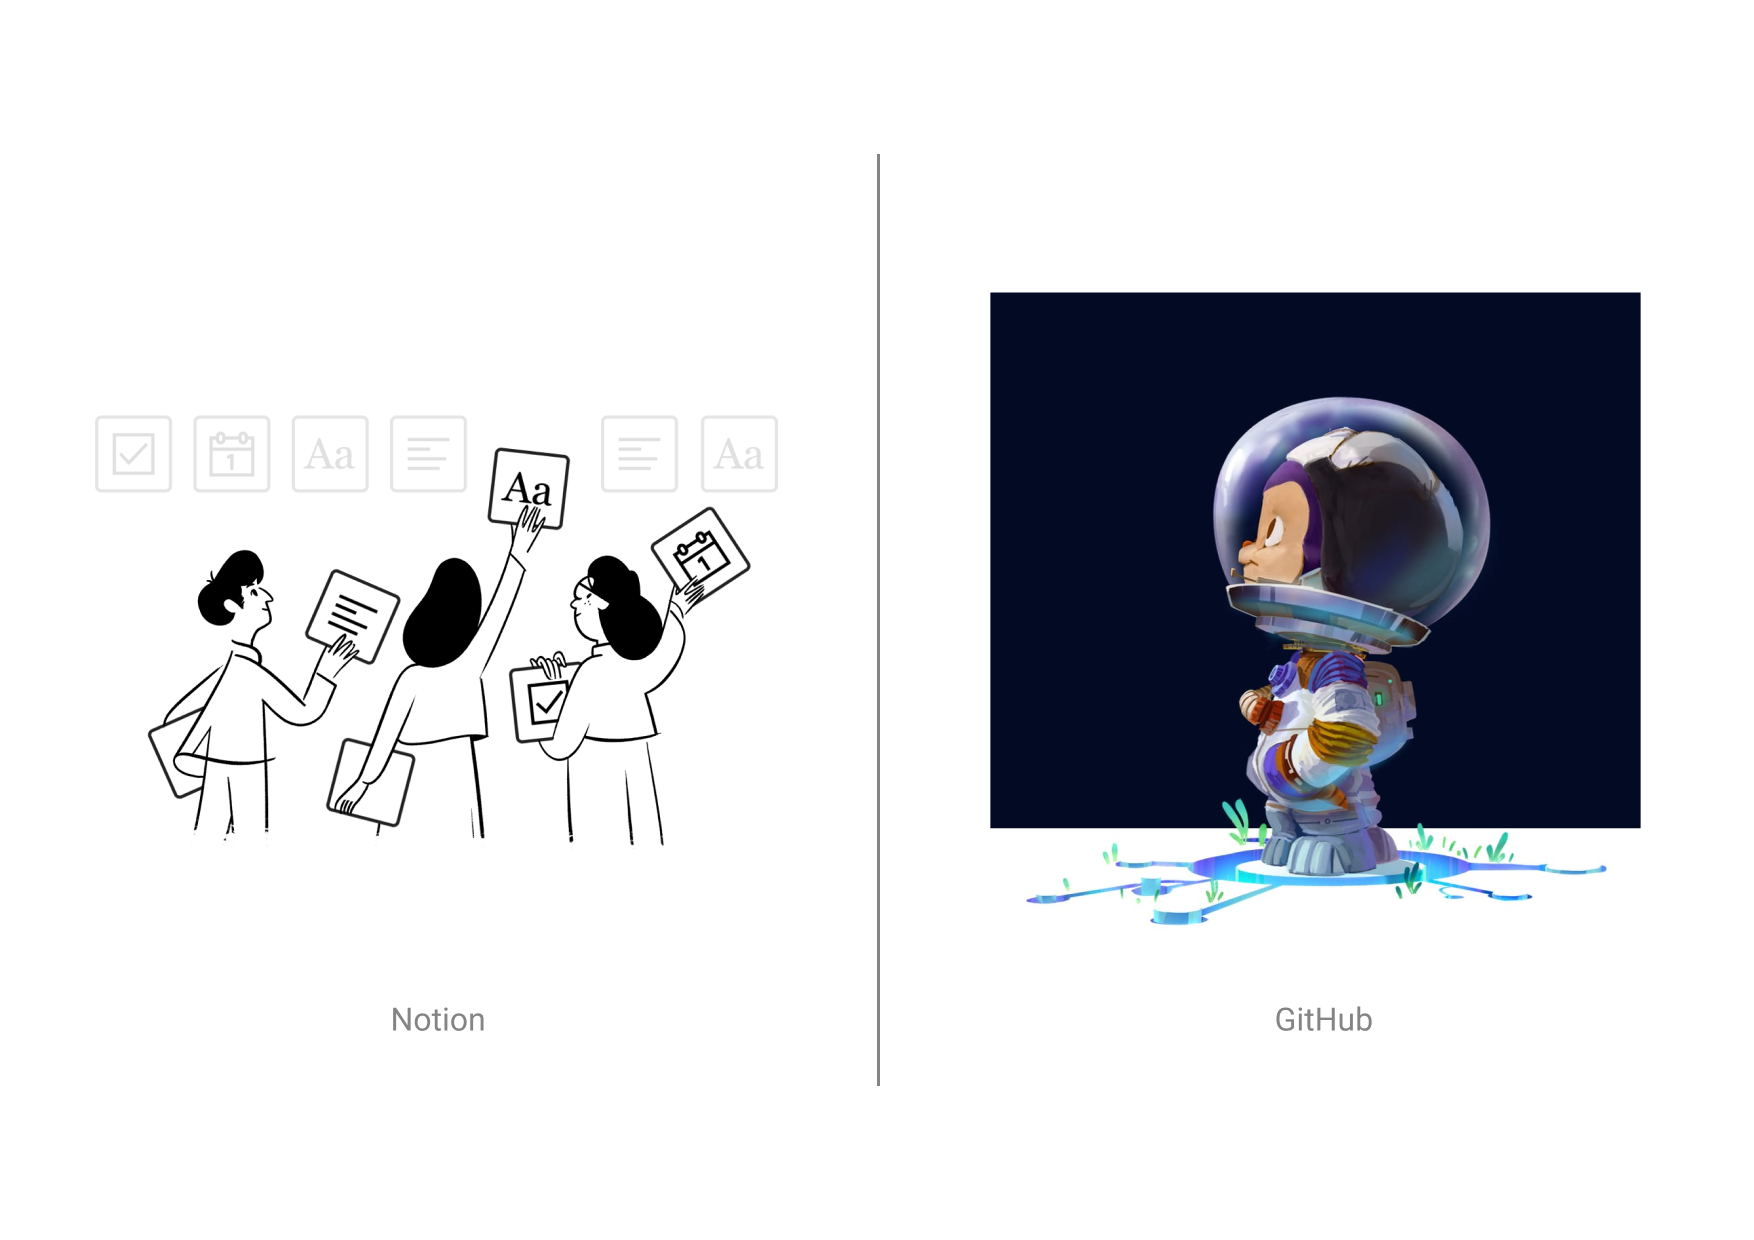
The most important point to consider is the complexity of an illustration style. The Notion illustration style isn't any less artistically valid than the one used by GitHub, but there is definitely a reduction in complexity by using simple, monochromatic lines in comparison to hand-painted illustrations. Given the limited people power at our company, we have to lean heavily into the less complex so that we can produce more work at greater frequency.
Another point to consider is how our illustration style works in a system. An illustration style based on vector art can help reuse, where we can mix and match pieces to create a range of illustrations. A good example of these types of modular illustration systems is from Pablo Stanley’s startup Blush. Everything from hairstyles to costume colors can be swapped around like action figures giving you a bunch of scene creation possibilities.
Here are some we found particularly inspiring for the creation of our system:

Last but not least, it is important to find something that you want to draw, but also matches a tone that you wish to project with your company, if it can represent the personalities of the people in your company as well, so much the better. After some sketching and research, I think the works of Pendleton Ward (and his team of course!) on his various shows proved to be the most inspirational. The whimsical and fantastical nature of his character designs felt like it opened a lot of practical possibilities, but most of all, they are just darn fun to draw.

Step 2: Sketching and Even More Sketching
The second step is arguably the most fun, but also can be the most frustrating especially if you are not actively drawing in your “style”. There isn’t too much to explain during this phase as there is a lot of drawing some lines, seeing how they feel to you, and then redrawing them until they are right.

These were some of my initial sketches, you can see a lot of Notion's influence in regard to the figure on the right, but ultimately I felt it was too derivative, and not playful enough for who we are at Liberate Science. The top left figures felt too graphically designed, not cartoony enough, or too infographic. The figure on the bottom left was where the design started to feel like it was moving in the right direction. It is playful, stylized, and best of all, fun to draw!
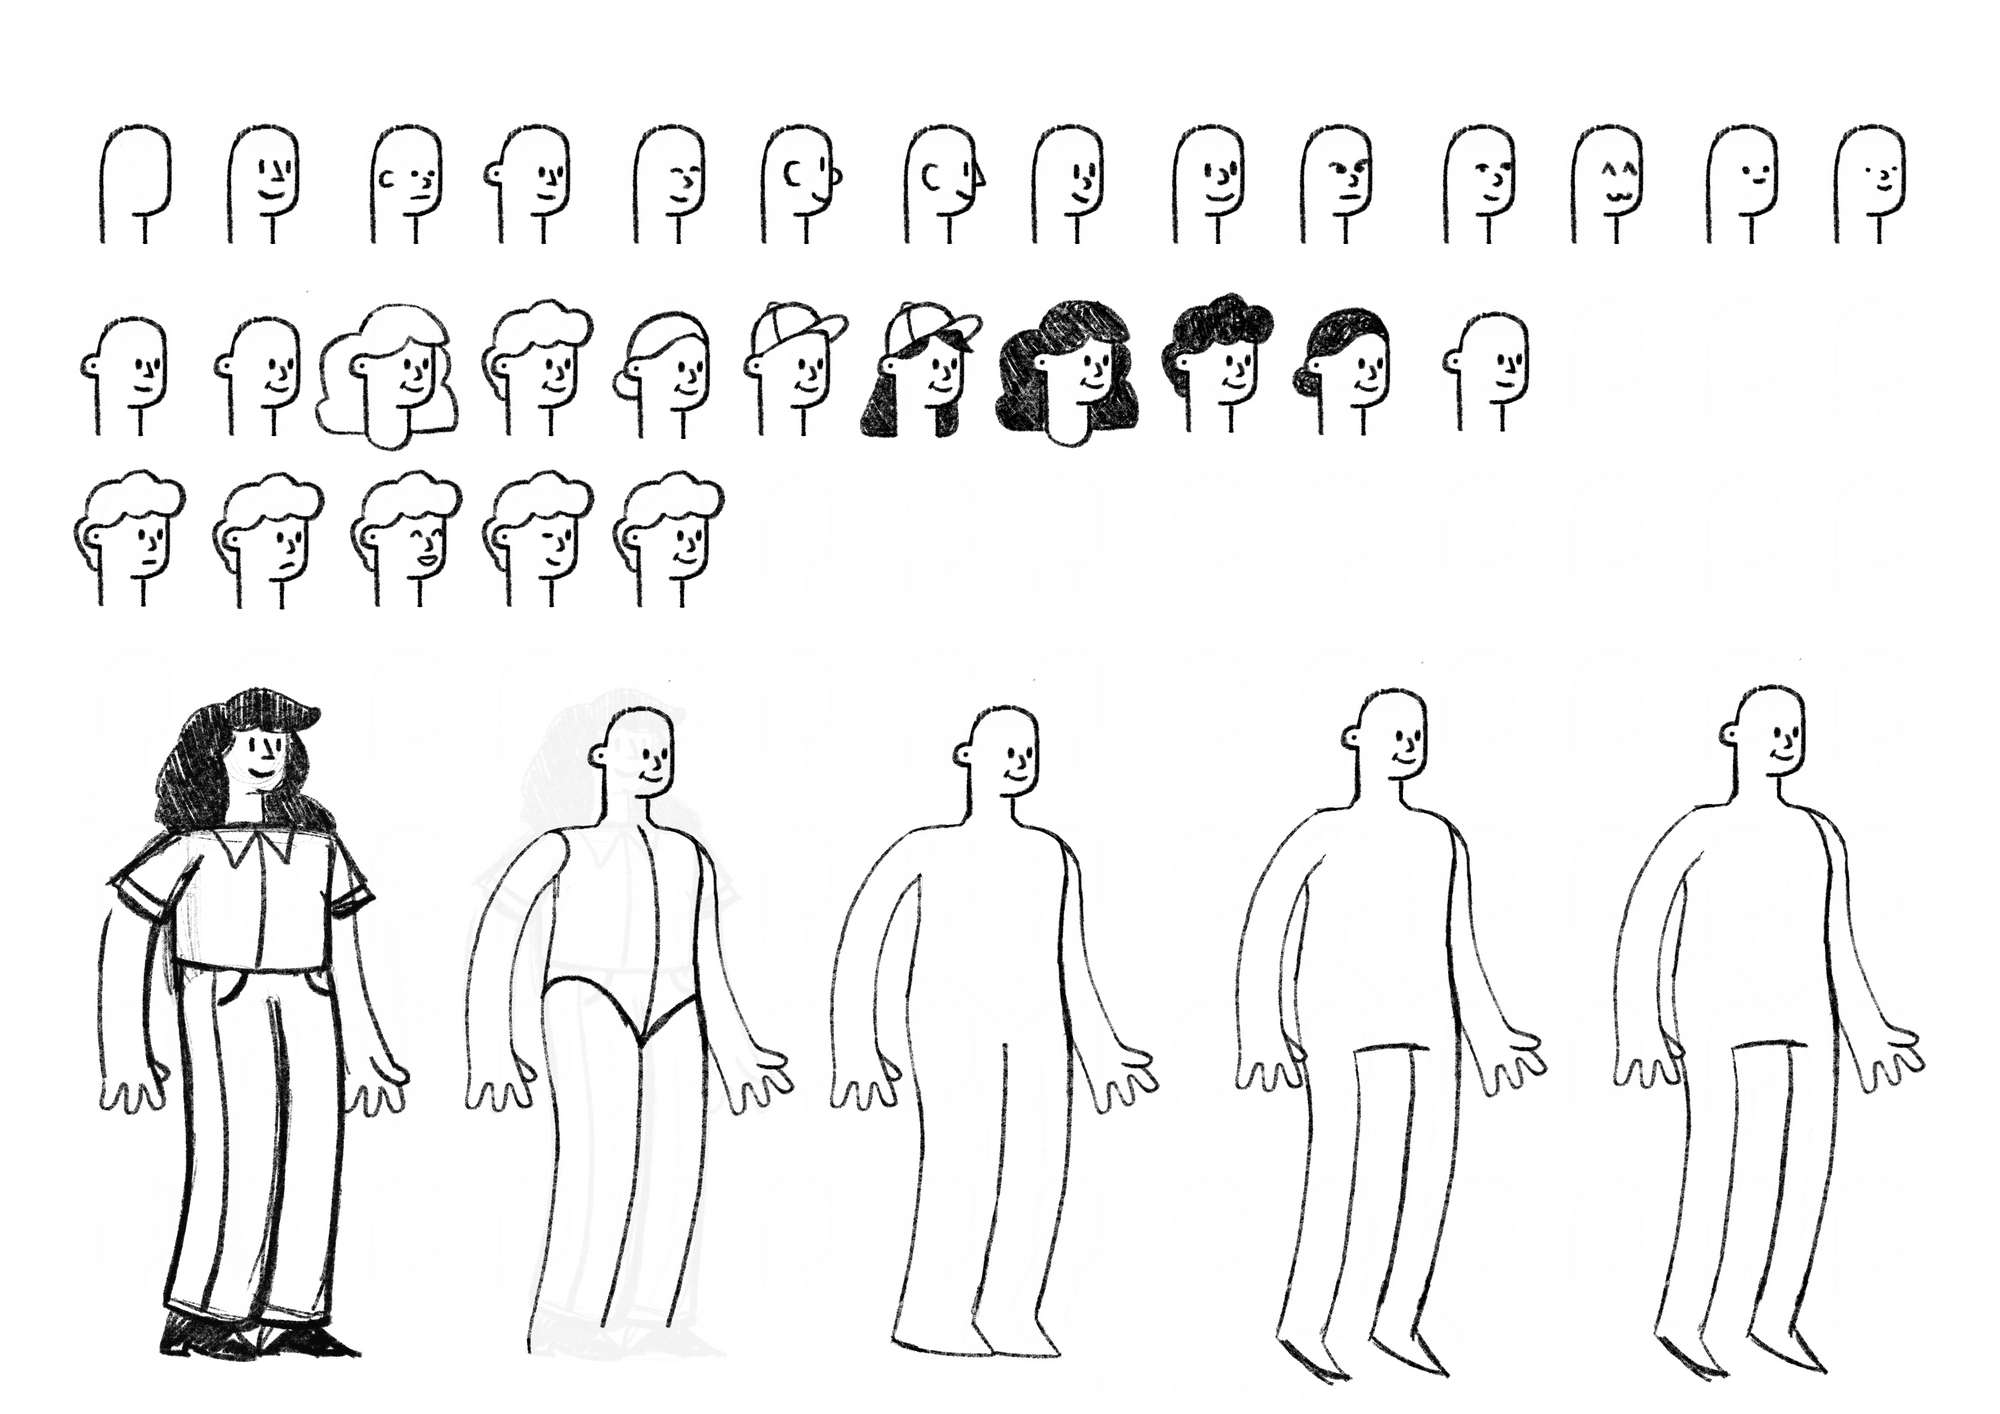
Here you can see some exploration of facial features and hairstyles. I liked the basic rounded rectangle shape of the head, but I needed more iterations to find the features that I wanted. On the bottom row you can see me trying to break down the body into a simplified primitive and the results were…suboptimal to say the least. I found the proportions to be really frustrating to draw and weren’t very posable. Time to look back at reference and find something another approach.

This is where the design really started to come together. I reworked the legs to have a more Adventure Time-y look and finally the character felt like it would be malleable enough to iterate upon.
For example, here is a quick character rendering of Liberate Science's Executive Director, Chris Hartgerink:

Chris’ character was an important proof of concept for the adaptability of the style and gave me a lot of confidence to move forward and continue development.
Step 3: Start Building Out the System
So now that I had a character style I like, I needed to start exploring the rules for the world in which out characters inhabit. Do they occupy physical space by standing on a ground plane? Is their size realistically proportional to props like phones and computers? Perhaps the characters are presented in 3D space, but the props only occupy 2D space? We don’t need the answers to all these questions right away, but it is important to start to think in these terms because it will provide valuable direction when we create new illustrations.
After further exploration, I decided for our characters to exist in this sort of zero gravity environment. Here they can be untethered from the ground plane and related props can swirl and hover around in a way that I find compositionally appealing. In terms of props, I tried a few iterations of 2D props, but they felt too simplistic next to the detail of the characters. I again drew inspiration from Pendelton Ward, in particular his character BMO and went for what I am calling “retro anthropomorphism”. I wanted the objects in the world to be distinctly "retro", but also to represent technological archetypes.

So what’s next?
Step 4: Make it Ready for Prime Time (Still a work in progress…)
This part is probably the most time consuming after initial sketching, but the time will be dispersed throughout the lifecycle of the illustration system. We decided that we wanted the production ready assets of our illustration system to be in SVG format for wider applicable use. In order to do that, we have to bring the art into Figma and recreate it as vectors. Making the illustration library easily accessible to team members and the wider community is a whole other technical task, but that’s a story for a future blog post…